Many people don’t know how to do permanent hair straightening at home. Today we talk about permanent hair straightening at home using natural ingredients and the process of permanent hair straightening at home.
Admit it, ladies! When it comes to styling hair, we all have a common love and that is nothing but ‘sleek straight locks’. Straight hair has always been in fashion and needless to say, it is here to stay. Tell me the truth, have you never thought of trying permanent hair straightening at home to get gorgeous, poker-straight hair? We know you have. Hence, we’ve come up with this very relevant post to get you covered. Let’s start here:
Natural Permanent Hair Straightening At Home
Forget super expensive salon treatments for straightening your locks permanently. There are so many simple and easy to find natural ingredients available around us that you’ll never look back to those chemical processes. The best thing about using permanent hair straightening products at home for getting smoother, straighter, and shinier mane is that they are safe and healthy. While chemical hair straightening treatments can be harsh on your scalp as well as hair fibers, natural substances can nourish them and give their health a significant boost. Explore the ways to do permanent hair straightening at home naturally:
1. Coconut Milk And Lemon Mask
Say the best natural recipes for permanent hair straightening and this coconut milk-lemon juice mixture will top the list. Prepare a smooth, buttery blend by mixing 2 tablespoons of freshly squeezed lemon juice with (1/2) cup of thick coconut milk. Keep it in the refrigerator for half an hour so that the top layer coagulates to form a creamy texture with a runny paste underneath. Give the whole thing a good mix. The final blend will work as a conditioner that you need to apply all over your hair including the scalp. Either wrap your hair with a warm towel or simply make a bun of it. After 5 minutes, rinse off with lukewarm water. Make sure that you repeat the procedure at least twice every week to see visible changes in your hair texture within a month.
2. Olive Oil And Egg Mask
Another at-home permanent hair straightening recipe that works wonders for wavy or curly locks is an egg-olive oil mask. Get 4 tablespoons of pure organic olive oil (it is even better to use Extra Virgin Olive Oil or EVOO) and 2 large eggs to prepare the simple mixture. Crack open the eggs and beat well. Add the olive oil to it and blend both ingredients properly. Massage the paste into your scalp and apply it through the length of your hair. Allow it to sit for 45 minutes or 1 hour and then, rinse with a mild herbal shampoo and tepid water.
3. Banana, Papaya, And Honey Mask
Being an excellent natural hair conditioner, banana is considered among the best permanent hair straightening at-home products. To make this simple fruity mask, you will need 1 cup of ripe banana, 1 cup of ripe papaya, and 1 tablespoon of pure, raw, organic honey. Mash the banana and papaya pieces very well so that they do not form any lump. Add honey to it and mix very well. Apply it to your hair thoroughly. Once it dries up completely, rinse off with lukewarm water and a mild shampoo.
Going natural for permanent hair straightening treatment at home is certainly an amazing choice. It not only makes your locks pinpoint straight in a healthy way but also ensures that you get rid of annoying issues like itchy scalp, dryness, frizziness, split ends, etc.
How To Do Permanent Hair Straightening At Home Safely?
But what if you are too lazy to try a DIY? How to make the task of straightening your hair easily while juggling with work and life, and have no time for pampering your hair? Is there any way to make chemical or heat straightening procedures safer? Well, we have some tips for you:
- If you are ready to give at-home permanent hair straightening kits a try, make sure that you choose the right one and follow the instructions mentioned on the product package religiously.
- Always go for a patch test before you apply the straightening chemicals on your scalp and hair.
- Your hair straightening kit may reap the natural moisture off your scalp and hair. Hence, follow a deep conditioning treatment right after straightening your hair.
- After conditioning your straightened hair, rinse it with plain cold water. Tepid water is good for washing off the chemicals products from your locks, but a final cold water rinse is essential for sealing the open hair follicles.
So, relieve yourself from the hassle of using a straightening iron every day. Now, you have some safer and healthier options that are pocket-friendly too.
Permanent Hair Straightening At Home
It’s Easier Than You Think
Can you do permanent hair straightening at home? That was my question for over a year. How could I avoid the cost, but without ruining my hair? The answer was much easier and affordable than I imagined.
DISCLAIMER: This is a professional salon product that, while available for anyone to purchase, is intended for use by licensed stylists and hair care professionals. This post is not sponsored, requested, or endorsed by any company and I am not a hair care professional. Misuse of hair straightening chemicals can permanently damage your hair and scalp. If you decide to use this or any other chemical straighter at home you accept all risks and responsibility. Always follow product directions as stated on the manufacturer’s packaging.
I spent hours every week running a flat iron through my hair. (I own FIVE flat irons… I’m not even playing) Not only did it take too much time, but it created continuous heat damage to hair that was already dry and frizzy. It would look great for an hour or two. It would be shiny, bouncy, and super straight…. then the weather happened. If it was damp, rainy, or humid – forget about it. My hair would turn into a crazy mess. “You just need to embrace your curls”, my friends would tell me. So I bought all kinds of curl products. What did I end up with? Crunchy hair.
I was done with it. I knew I wanted my hair straight – all the time.
After researching local salons about permanent straightening, I almost had a heart attack. $500 was the average price. I knew there had to be a way to escape that high cost, and I found it: Bio Ionic ReTeX Straightening Kit.

I heard about Bio Ionic from my friend Trisha. She’d tried their temporary Agave formula and loved it. I was intrigued, but I knew temporary wouldn’t be enough for me. I wanted a one time set it and forget it. The ReTeX promised the Japanese method, permanent straightening from day one. I was sold.
Tip #1 MAKE SURE YOU HAVE TIME – The directions make it seem like you’ll be done in no time. Don’t count on it. I needed 3 hours of uninterrupted alone time.
Tip #2: Is your hair already processed? I have what is called “Virgin Hair” which means I do not perm, color, bleach, etc except for a very small grown out blonde spot at the front. If you have previously processed your hair or recently colored it – ask a professional before using this product.
STEP 1: CLARIFYING WASH
I washed my hair with a clarifying shampoo to get rid of any buildup. No matter if you washed your hair 24 hours ago – wash it again. Leave it damp and comb out.
STEP 2: APPLY RETEXTURIZING CREAM
This is the bad boy, the stuff you really need to pay attention to and dedicate most of your time. It essentially softens the structure of your hair to near breaking, so you want to be gentle with your comb. Note: The smell is strong, like perm solution. I started at the top, separating my hair into sections similar to when you apply hair color. I used this hair color application kit to make sure I got an even coat on every section of hair and this salon cape to protect my clothes. After I evenly coated each section, I folded it up on top of my head and moved to the next. The cream is thick so once you stick it in place it stays put.
Important: I left about 1/4 of an inch of my hair, next to my scalp, clear of retexturizing cream. You want to avoid applying the cream directly to your scalp.
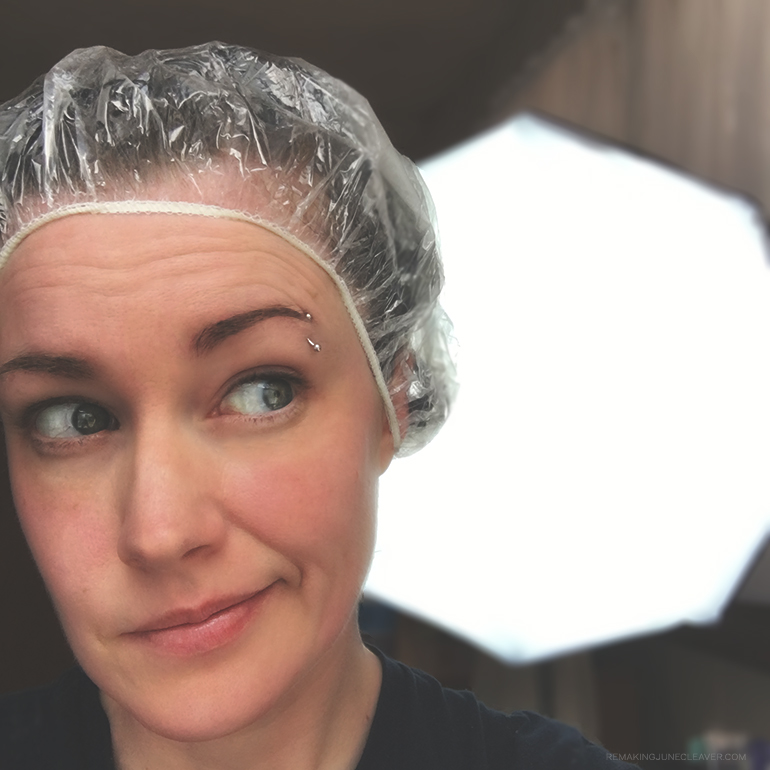
My hair is only shoulder length, but super thick so it took me about 25 minutes to coat every area of my hair. Once finished, I covered it with a disposable processing cap so that the heat from my head would help the process. The box recommends 25 – 45 minutes depending on how curly or resistant your hair is. I left mine on for the full 45 minutes.
STEP 3: RINSE
I rinsed my hair with warm water until it no longer felt “slimy” and the water ran clear. Make sure there is NO product left in your hair or on your skin.
STEP 4: BLOW DRY & STRAIGHTEN
I blow-dried my hair completely. I used a round brush once it was 40 – 50% dry. Be very careful not to tug or pull your hair too much – it’s still in a very weak state. Once dry, I straightened my hair with a flat iron on the highest setting.
Tip: work with smaller sections than you usually do when straightening your hair. During this step you are setting how your hair will be until it grows out – take your time. The directions say to move slowly and go over each section of hair 3 – 4 times. Approximate time: 30 – 40 minutes depending on hair length and thickness. If possible, get a friend to help with straightening the areas in the back so you don’t miss any spots.
STEP 5: APPLY THE NEUTRALIZER CREAM
This is MUCH easier than the retexturize. Whew! I still separated my hair like before and used an applicator brush, but now I could slap that stuff all over my head – my scalp was safe. I made sure to cover every inch of hair. Recommended sitting time: 5 – 6 minutes. I left mine on a few minutes longer just to be safe.
STEP 6: RINSE AGAIN
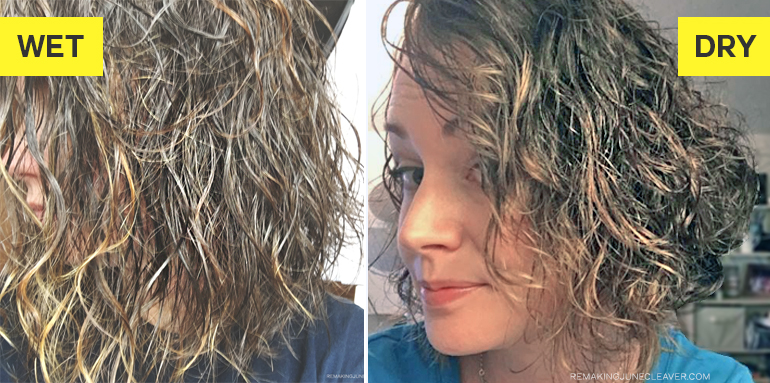
I rinsed with warm water until my hair was free of all product. DO NOT SHAMPOO. You can let it air dry or blow-dry. Your hair is going to be SUPER straight. Flat. Limp and lifeless. I was scared at first. Luckily the body and bounce returned after about 2 weeks and some much-needed conditioner.
The photo below is how my hair looked air-dried after my process was done. There is a bit of frizz on the grown out bleached area – that’s why it’s important to speak to a professional before doing this if your hair is processed in any way.

How Long Does It Last? Is it REALLY permanent?
As permanent as it can be. Of course, your hair is going to continue growing and any new growth has not been chemically straightened. The time between treatments will vary according to how fast your hair grows and how curly your new growth is.
Can you still use a curling iron, or are you stuck with straight hair?
I can’t speak for every hair type, but a curling iron still works in my hair.
Did it damage your hair?
Any chemical process is going to cause damage to your hair. Even your flat iron does. But, I have not seen any *noticeable* damage. There is no breakage, frizz, etc.
AFTERCARE
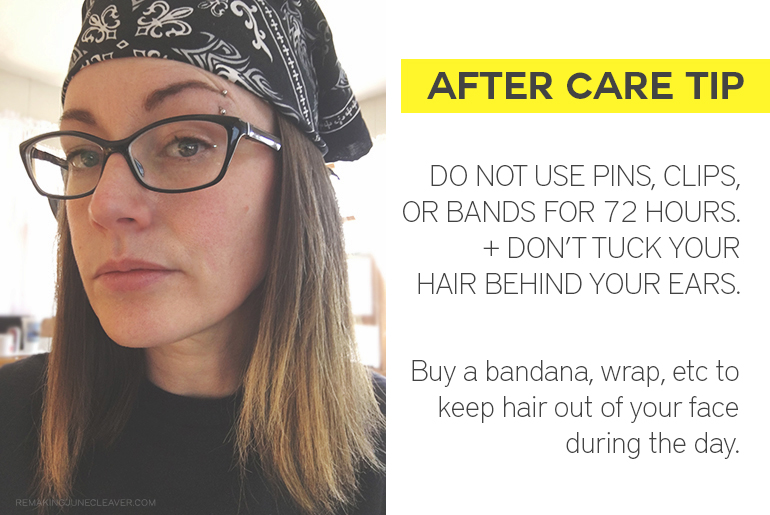
Don’t put any accessories in your hair. Not even that super soft Scrunchie you use in the shower. This is very important because your hair is still “setting” for 72 hours and any repeated or forceful binding of your hair can cause kinks and bends to stay permanently.
More Rules For The First 72 Hours:
- DO NOT wash your hair or get it wet. If your hair gets wet on accident (rain, splashed at a pool party, random water balloon incident, etc) dry it and go back over the area with your flat iron ASAP. Also, avoid heavy exercise (sweat) and take baths instead of showers because of the steam.
- DO NOT use your curling iron or other heat shaping tools (unless you’re fixing a bend with your flat iron).
- DO NOT use any hair products. NONE. It will be tempting because your ends will be a little frayed and if you have any areas of existing damage, they’re going to be dry. You’ll have plenty of time to repair after your 3-day setting period.
- DO NOT use anti-dandruff shampoo. Like…ever again. Or at least not often. I’ve read a ton of reports online that the chemicals used in anti-dandruff shampoo will actually reverse the straightening and bring curl back to your hair. I’ve switched to using natural oils like Oregano and Thyme in my conditioner to combat dandruff and so far it’s working great.
- DO use a TON of conditioner when the 72 hours are up. Just slather your hair in it and let it sit for 10 – 15 minutes. I use Silk18 Sulfate Free.
I love my hair now. The first time I washed it, I let it air dry and it was STRAIGHT. You gals with half curly – half wavy – a little frizzy hair understand how HUGE that is. I didn’t have to do anything to it. I just let it dry, brushed it, and left the house. YES! Also, there were 2 surprise side effects: 1. No More Frizz. You heard me. Celebration! 2. My hair dries super fast now. It used to stay wet for hours, even overnight. Now my hair air dries in about 30 minutes.

It’s been a month now and my hair is still wonderfully, perfectly straight. The bounce and body have come back and it looks better than ever. I still use my flat iron once in a while on the very ends if I get a little retro “flip” action happening, but otherwise, my hair is “fret free”.
WHERE TO GET BIO IONIC ReTeX
eBay – BioIonicReTeX Avg Price: $30 // On Amazon Avg Price: $150 – $200
If you’d like to try their temporary Agave Smoothing Treatment instead, you can also find it On Amazon.
3 Ways to Get a Permanent Hair Straightening
Curly or wavy hair can be really cute, but it can also be a lot of work to tame daily. If you dream of having smooth, straight locks, a permanent hair straightening treatment can give you a look you’ll love. Depending on the method you choose, your straight hair will last anywhere from several months to as long as it takes for your hair to grow out.
Method1.Choosing a Professional Straightening Treatment
1
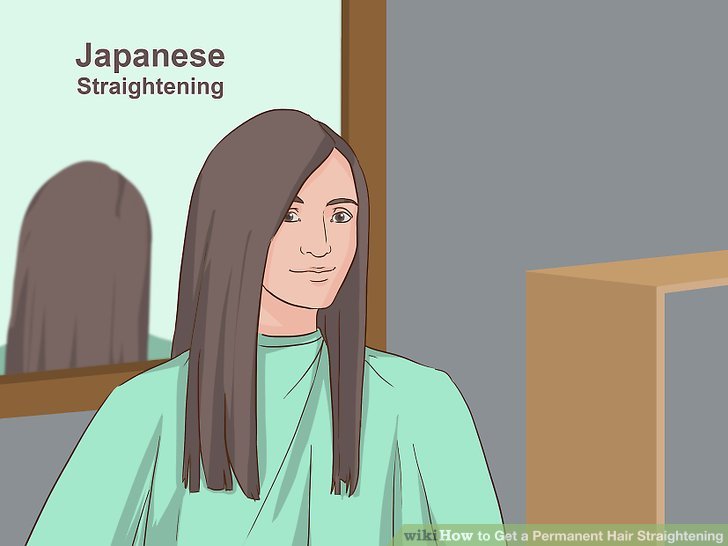
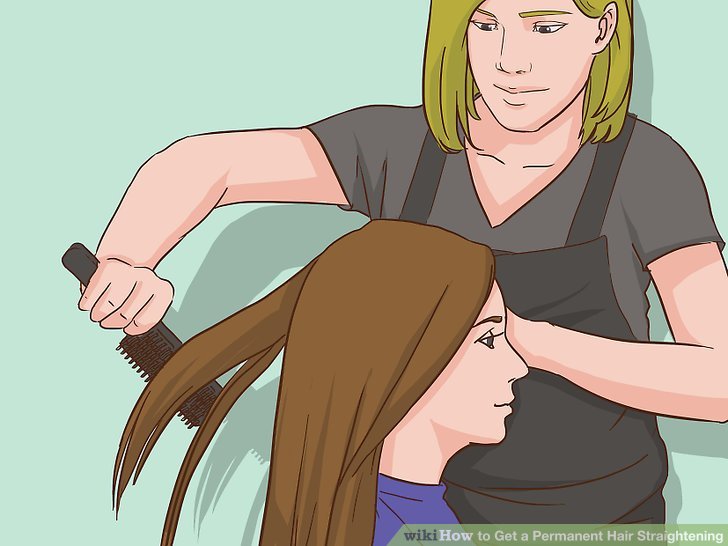
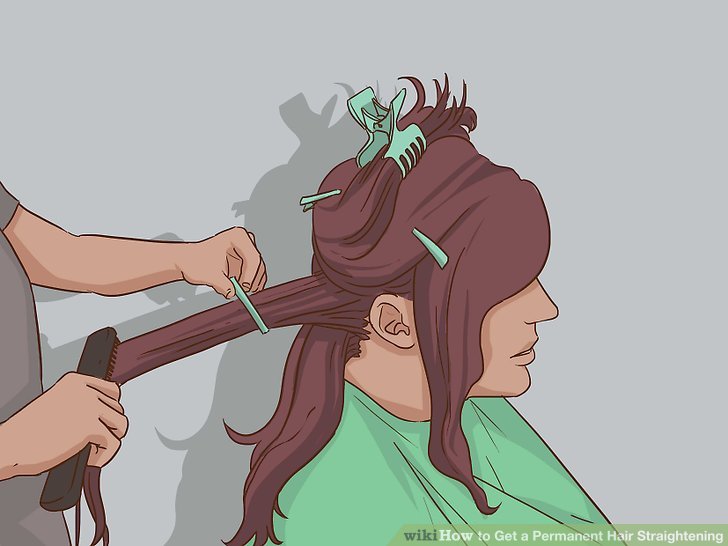
Choose Japanese straightening if you have loose to medium curls. Japanese straightening, also called thermal reconditioning, involves your stylist applying a solution to your hair that breaks the bonds that make your hair curly. Your stylist will then blowdry and flatiron your hair until it is pin-straight. The process can take up to 8 hours, and it will leave your hair sleek, shiny, and straight.
- If you choose Japanese straightening, your hair will be unable to hold a curl, even if you use a curling iron.
- The difference between your straightened hair and your new hair growth will be obvious, so plan to go in for a touch-up after 6-12 weeks.
- A Japanese straightening treatment can cost more than $500, depending on the length and thickness of your hair.
2
Opt for a relaxer if you have coarse, tight curls. Like Japanese straightening, relaxers permanently break the bonds in your hair. The chemicals used in this process are harsh since they’re designed to be used on thick, coarse hair, but if it’s done right, you will be left with straight hair that’s easy to manage, even if you live in a humid climate.
- Your hair will still be able to hold curl after a relaxing treatment, so you can use a curling iron to style it if you want.
- Expect to go in for a touch-up in 6-12 weeks, depending on how fast your hair grows.
- Relaxing treatments can cost $45-$100.
3
Go with a keratin treatment for smooth hair that you can still curl. Keratin treatments, like the Brazilian Blowout, smooth the surface of your hair, but they don’t permanently break the bonds. Over time, your hair’s natural texture will return. This usually takes about 2 months. Since the structure of your hair isn’t changed, you can still curl it if you choose to.
- Some keratin treatments contain formaldehyde, which is a known carcinogen.
- A keratin treatment can cost $200-$300.
4
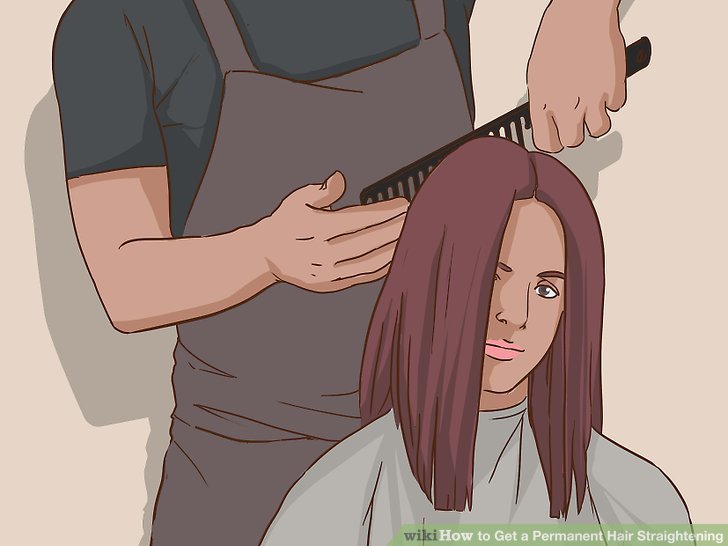
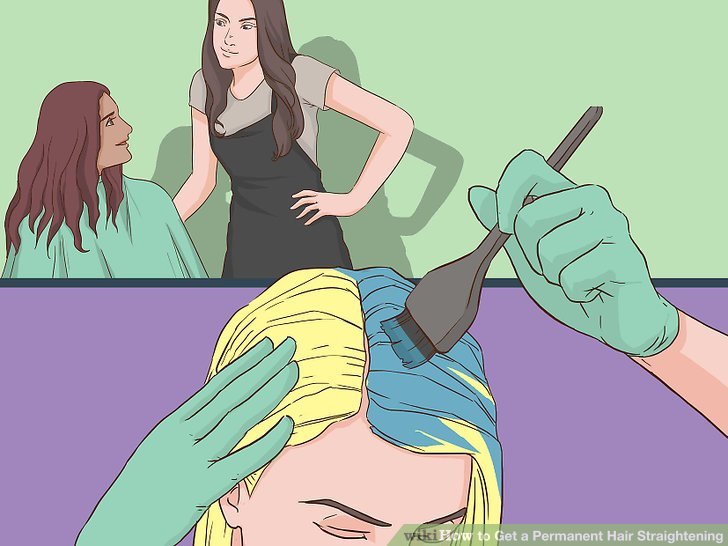
Find a qualified professional to perform the treatment. The chemicals used in permanent straightening are extremely caustic. In the hands of an inexperienced stylist, your hair may become severely damaged and it may even break off. Ask your friends for recommendations or read online reviews to find an experienced stylist with a good track record performing these treatments.
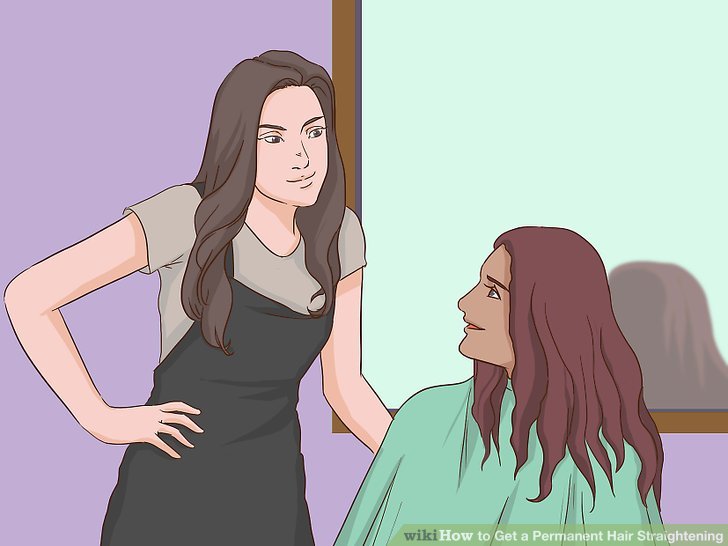
- Your stylist should examine your hair and make a recommendation about the type of straightener they think would work best for your hair.
5
Ask your stylist about the chemicals in the treatment. Some permanent hair straighteners can contain formaldehyde or chemicals which release formaldehyde when they’re put on your hair. This is a dangerous chemical that can irritate your skin, eyes, and lungs, and it may cause cancer after prolonged exposure. Talk to your stylist about formaldehyde-free options.
6
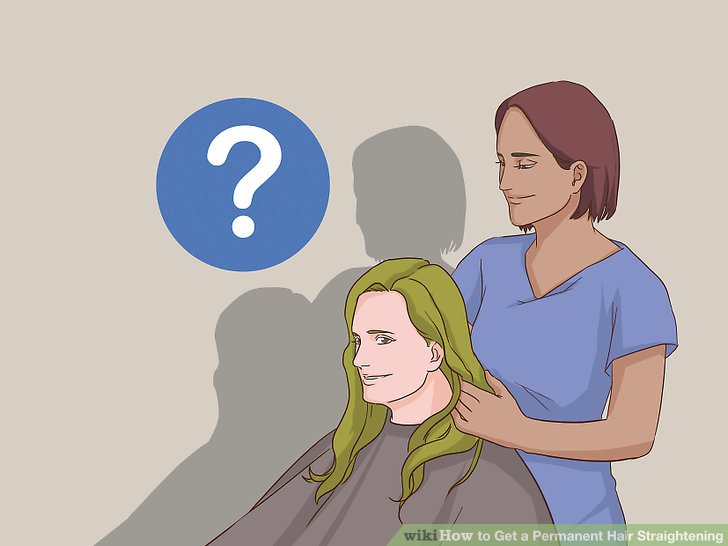
Ask if there are any pre-treatment instructions you should know. Before your appointment, call your stylist and ask if there is anything you should or shouldn’t do to your hair before you sit in the chair. Depending on the treatment, your stylist might tell you not to wash your hair for a few days before you come in, or they might tell you to wash with a clarifying treatment the night before your appointment.[7] You may also be advised not to scratch or comb your scalp too hard.
Method2.Going Through the Straightening Process
1
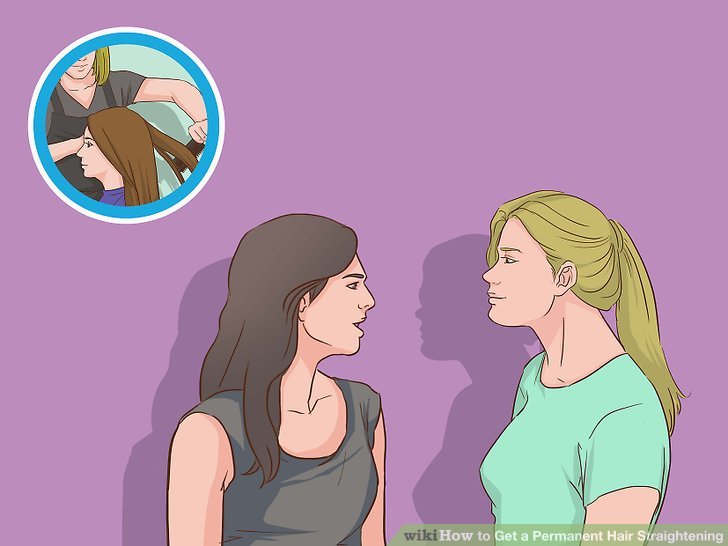
Be honest with your stylist about your hair history. If you’ve been coloring your hair for years or you tried an at-home relaxer a few months ago, your stylist needs to know that. Hair that has been chemically processed may be too damaged to undergo chemical straightening. It could lead to your hair being dry and brittle, or it could even break off during the process.
2
Request a strand test. During a strand test, your stylist will apply a small amount of the straightening solution to a strand of your hair in an inconspicuous spot, perhaps near the nape of your neck. This will allow the stylist to see how your hair reacts to the chemicals and will let them know if it is safe to proceed with the treatment.
3
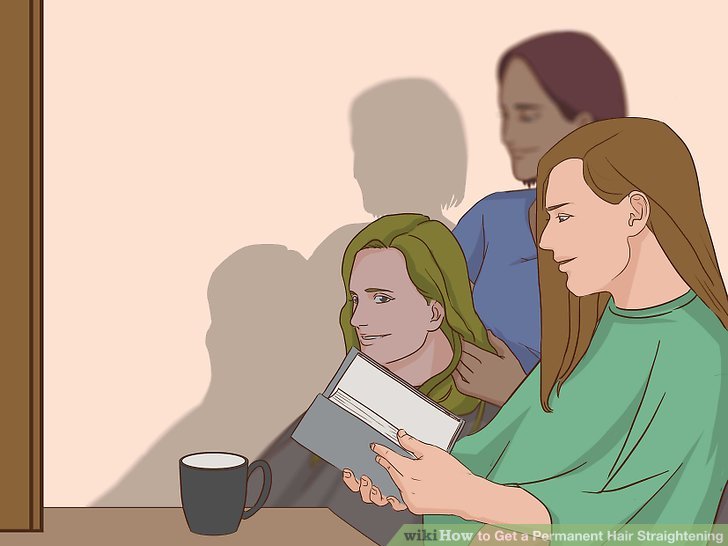
Bring a book or download a game so you don’t get bored. Most permanent hair straightening treatments will take at least 2-3 hours, and Japanese straightening may take as long as 8 hours for the first treatment. Bring a book with you or download a game on your phone so you’ll have something to entertain you while you sit in the chair.
4
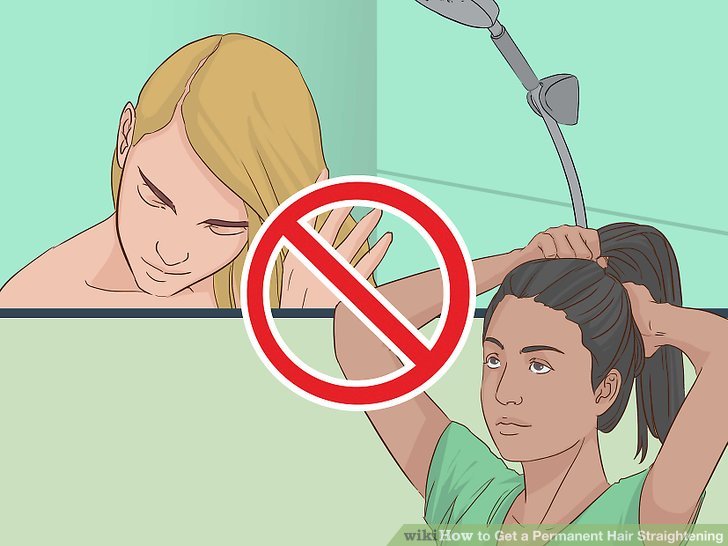
Follow aftercare instructions. It’s important to follow your stylist’s aftercare advice carefully to protect your hair. If you choose Japanese straightening, you will be advised not to wash your hair for 2-3 days after treatment. Depending on the treatment, you may also be told to avoid using heat styling, which can increase the risk of breakage on your fragile hair. For keratin treatments, you may need to refrain from wearing your hair in a ponytail for 2-3 days to avoid setting a permanent crease into your newly-straight hair.
Method3.Keeping Your Hair Straight at Home

1
Use a deep conditioner and steam to straighten your hair. First, apply a deep conditioning mask to your hair, focusing especially on the ends. Turn your shower on as hot as you can get it, then pin your hair up so the ends of your hair are exposed. Sit as close to the steam as you can without touching the hot water and relax for 20-30 minutes. When you’re done with the steam treatment, adjust the shower to a comfortable level, then rinse the conditioner out of your hair.
- This is a great method to help restore moisture to your hair after a professional straightening treatment. The reason this is so good for your hair is because the steam opens the cuticles on your hair, allowing the conditioner to penetrate the strands.
2
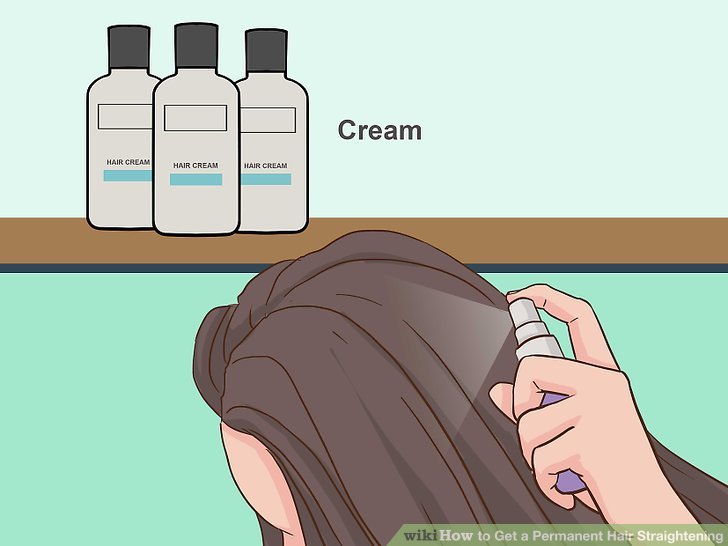
Try a store-bought smoothing serum or cream to blow dry your hair straight. You can find straightening products at any drugstore or beauty retailer, most of which come in the form of a serum or a cream. If you want to get the look of a sleek salon blowout at home, look for a heat-activated formula that will protect your hair from damage caused by the blow dryer. Apply the straightening product while your hair is still wet, then blow dry your hair in sections with a round brush.
- Serums and creams will not straighten your hair permanently, but they can help keep your hair looking sleek in between keratin treatments or when your roots start to grow out from Japanese straightening or a relaxer.
3
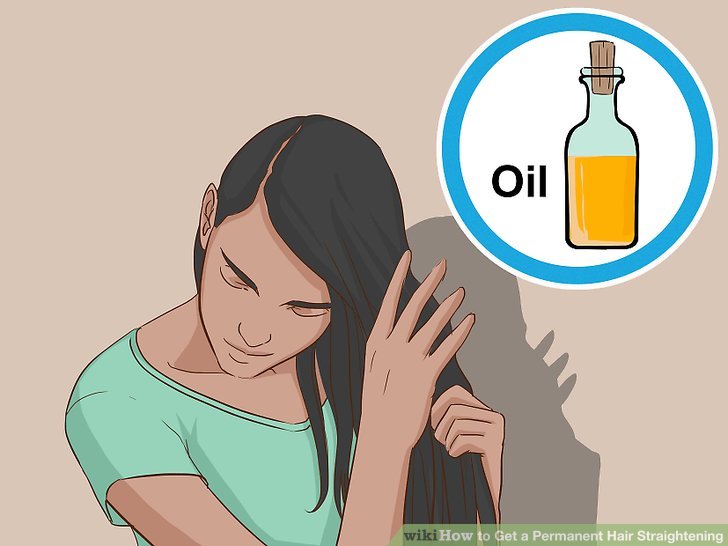
Apply a natural oil to your hair. Natural oils can deeply penetrate your hair, which helps your hair maintain moisture. This helps protect your hair from damage, which can cause frizz. Try these to nourish your hair after a chemical straightening treatment. Natural oils also help your hair fight humidity, so your hair will look more smooth no matter what the weather is like.
- Look for natural oils that are rich in vitamins and minerals to nourish your hair, like coconut oil, argan oil, macadamia oil, and almond oil.
4
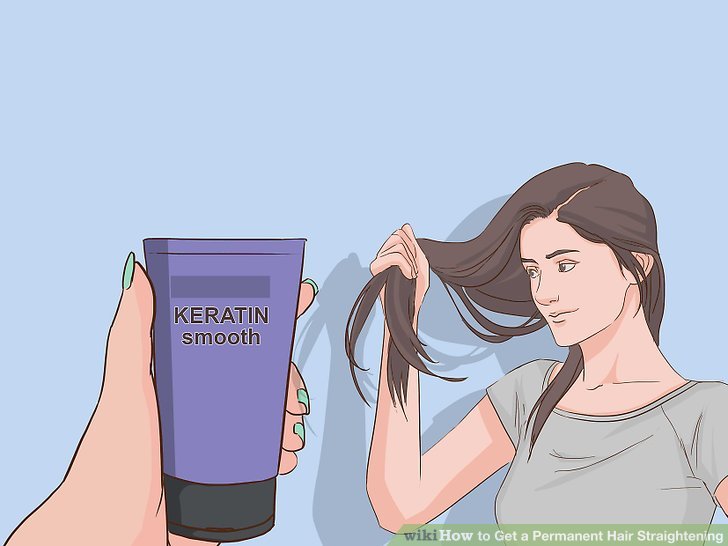
Try an at-home keratin treatment. There are some keratin treatments that you can apply yourself at home to get smooth, straight hair. Most keratin products are applied to damp hair before blow-drying, although some should be applied to dry hair. These claim to last anywhere from 1 wash up to 30 days, depending on the brand you choose.
- Ask your stylist before you try an at-home keratin treatment on hair that has already undergone a chemical straightening process at a salon.
The above is about permanent hair straightening at home. By introducing how to permanently straight at home, you can understand the process of permanent hair straightening at home.
You may also like:7 Great Tips To Do Hair Straightening at Home Naturally
These Permanent Hair Straightening Side Effects You Must Know